Contributors


Promote your music
If you’ve ever considered running Meta (Facebook and Instagram) Ads for your music, but felt overwhelmed with where to start - you’re in the right place!
Meta Ads can be an incredibly powerful promotional tool for your music, helping to get your releases in front of more people who are likely to enjoy your music. But they can be a little tricky to get your head around, particularly if you’re new to marketing or advertising.
Thankfully, we’re here to help. Keep reading to learn everything you need to know to launch your first Meta Ads campaign for your music!
Over 10 million people and businesses use Meta Ads, which means there are probably tens of millions of individual ads running right this second. Conservative estimates suggest that every person who uses the internet sees between 4,000 and 10,000 ads every single day.
Statistics like that might make you feel as though there’s no hope of your ads competing with such a huge volume of ads - but don’t let the figures put you off.
The key with Meta Ads (and with any ads, really) is to make sure you’re stopping the scroll. We’re all so conditioned to seeing and ignoring ads that your ad creative needs to be focused on standing out from the crowd - so that you can cut through the noise.
Here’s what you need to do before you even open up Meta Ads Manager, so that your ads are scroll-stopping, eye-catching and fan-creating.
If you’re not a marketer, seeing the word ‘funnel’ might scare you - but it’s really just a jargon-y way of saying ‘the path from seeing your ad to becoming a fan’.
Think about it visually, where the journey is shaped like a funnel. 100 people might see your ad; of those, 50 might read your ad copy; of those, 25 might click to your landing page; and of those, 10 might actually stream your music.
Before you start making your Meta Ads, you need to think about the journey you want your audience to go through. If your goal is to get more pre-saves on your next release, the journey will look different to if, for example, your goal is to generally increase your streams.
For generally increasing streams, your funnel would likely look something like this:
The point here is to map out the flow from seeing your ad to achieving your goal - so that you know the purpose of each part of your Meta Ads when it comes to setting them up.
Invest time (or money, if you have the budget) into creating visuals that stand out.
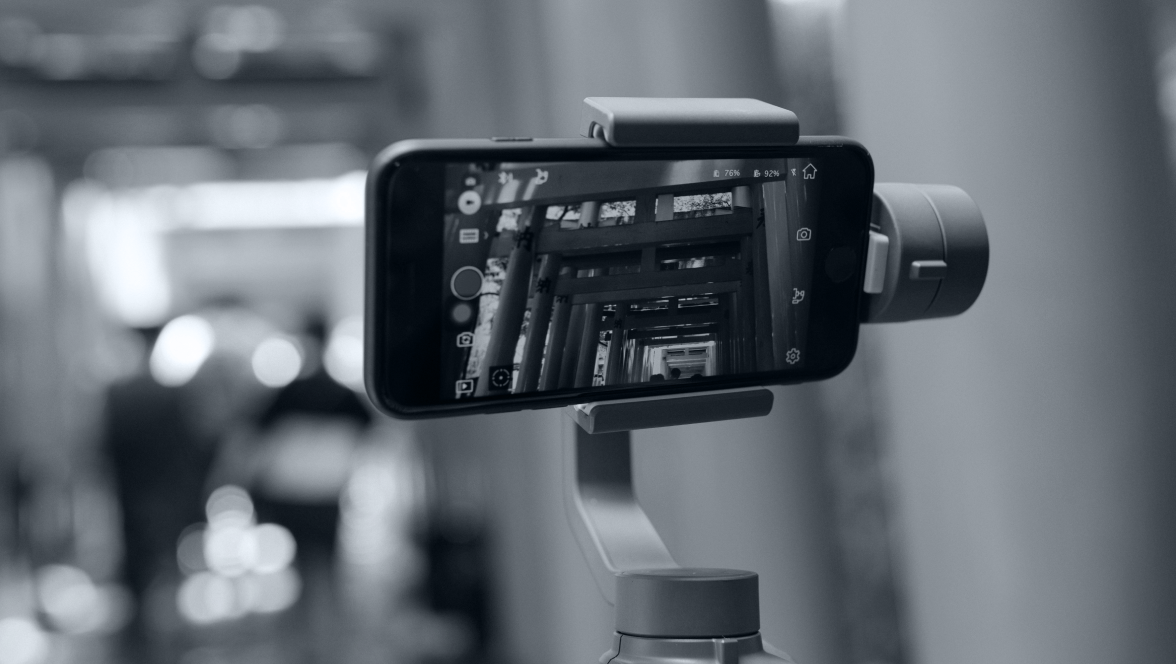
Like organic social media, paid advertising campaigns on Meta work best with vertical video content. Whether that’s motion graphics, snippets from your music video, lyric videos, or just stock footage used in an interesting way, the most important thing is that your video doesn’t look or feel like an ad.
If you’re using stock footage, go to the effort of cutting, tweaking, or editing that footage so it feels on-brand and less ‘stock-like’. If you’re using your own music video, take a snippet that’s instantly engaging and recognisable as yours. Or if you’re using motion graphics, keep them on-brand and natural, not overly corporate or ‘busy’.
If video isn’t feasible for you right now, image content can still work. The same principles apply: keep it on-brand, eye-catching and appealing, so that your ads stand a chance of getting attention.
Aim for a minimum of 4-5 distinct pieces of video or visual content, so that you can test different assets simultaneously.
Your visuals have stopped the scroll - now it’s time for your words to encourage the click.
The purpose of your ad copy is to intrigue the audience enough to take the action you want them to take, i.e. to click your link and stream your music. Ad copy shouldn’t be complicated or complex - it should be clear, concise and simple, so that you’re not asking your audience to read a lengthy essay rather than clicking straight through to your music.
Its purpose is to get the click, not give people a reason to stay on the ad longer.
Write a few different variations of headlines (40 characters), primary text (up to 125 characters) and descriptions (25 characters) so that Meta can test and figure out the most effective combination of copy for your ads.
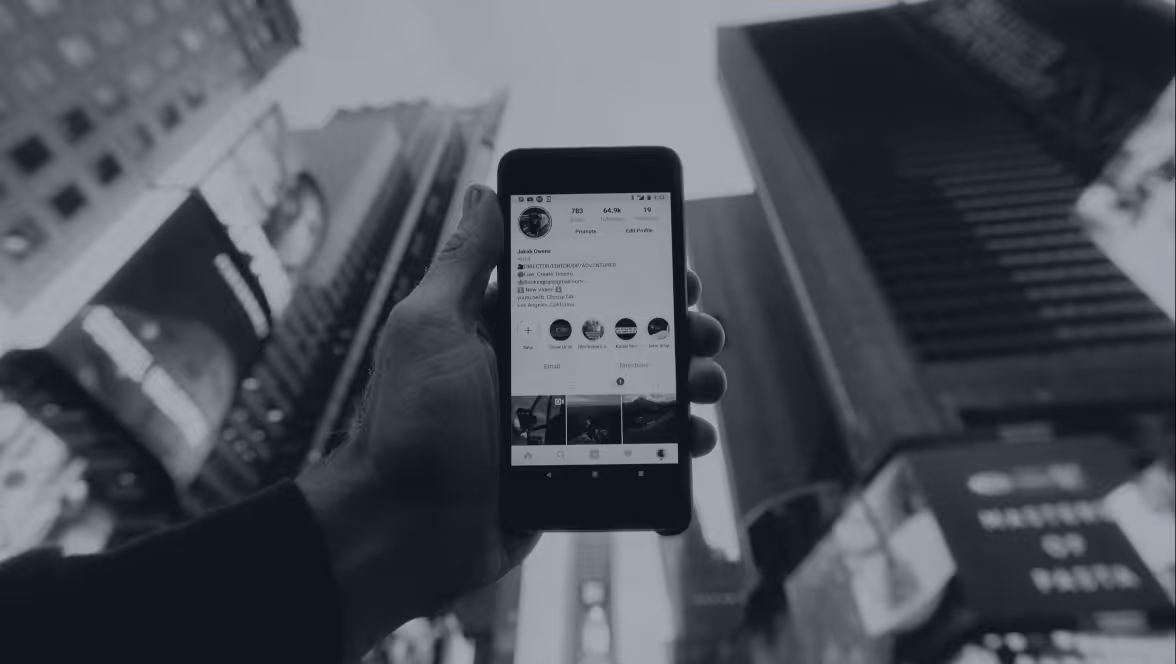
Unless you’re focusing specifically on pre-saves or streaming for a single platform, the best way to take listeners from Meta platforms to listening to your music is via a smart link landing page.
At Identity Music, we use Feature FM to generate pre-save and smart links, where we create a single landing page with multiple links out to streaming platforms, allowing visitors to choose their preferred streaming platform. Giving your audience the choice of where to listen to your music makes it way more likely that they will take the next step - which is exactly what you want!
If you’re not an Identity Music client, there are various free smart link generators you could use as your ads destination. If you have a website already, you could create a simple landing page on there to replicate a smart link (which also means you get traffic to your website, which is great for SEO!).
The most important thing to remember is that you want to make it as simple and frictionless as possible for your visitors to listen to your music (or pre-save your release, whichever your goal is). While choice is important, giving your visitors too much choice could overwhelm them and lose you the click.
Stick to the major streaming platforms (Spotify, Apple Music, Deezer, Amazon Music) and any platforms you know are popular with listeners in your genre - that way you’re letting people choose their favourite without overwhelming them with platforms they may never have even heard of!
Armed with your plan, your assets, and your enthusiasm, it’s time to log into Meta Ads Manager to get your Campaign launched!
Before we get started, it’s important to note that to run Meta Ads you will need to have either a Facebook Page or Instagram business profile to connect Meta Ads Manager to. If you only have a personal or creator Instagram account, you’ll need to switch to a business account to start running ads.
Once you’re logged into Ads Manager, it’s time to build your Campaign!
To give you an understanding of how Meta Ads Campaigns work, it’s useful to think about them in terms of a hierarchy.
At the top, you have your Campaign. This is where you choose your objective (e.g. traffic to your smart link, followers on Instagram, etc.) and it’s where your Ad Sets and Ads will sit inside.
In the middle level, you have Ad Sets. These are, unsurprisingly, sets of ads that sit in your Campaign. You can run any number of Ad Sets within a single Campaign, but to keep your account organised it’s best practice to organise your account into different Campaigns, where all the Ad Sets in that Campaign are relevant to the Campaign.
For example, if you’re planning to run ads to increase your pre-saves and also run ads to increase your Instagram followers, it’s best to separate those out into two different Campaigns, each with its own Ad Sets underneath. Equally, if you are running pre-save ads and want to do so for more than one upcoming release, you could have a single Campaign with an Ad Set for each of your releases.
Your Ad Sets determine your budget (which can be set for each Ad Set or at Campaign level), your audience targeting (one of the most important parts of your Campaign!),and placements, i.e. where your Ads will show on Meta platforms.
Finally, within your Ad Sets, you have Ads. This is where your visual and copy assets are uploaded to create the actual Ad that your audience will see. An Ad Set can have any number of Ads inside, and it’s a good idea to be running a few different Ads simultaneously so that Meta can learn which works best and prioritise your Ad Set budget accordingly.
Hit the big green button that says ‘Create’ to get started with turning your plan into reality.
The first thing you’ll be asked to do is choose your Campaign Objective from the following choices:
For promoting your music, the best option is Traffic. This objective will let you send people from your Ad to your smart link/landing page, where they can then listen to your music. You might consider using the Awareness objective if you’re looking to increase your brand awareness more generally, or the Engagement objective if you have a particular piece of content you want to get more traction with - but for sending people from social media over to streaming platforms, Traffic is the best option.
Once your objective is chosen, you’ll be given the option of letting Meta decide your settings for you, or manually choosing your Campaign’s settings. The rest of this guide will show you the manual settings process, so that you can build a Campaign from scratch without Meta’s recommendations, but if you’d prefer to try the alternative version that’s entirely up to you!
Your Campaign now exists, so the next step is to make sure you’re happy with the general settings. Check through the following options:
Set this to be something that makes sense to you! And remember that you can have a single Campaign with multiple Ad Sets, so you don’t need to be hugely specific. Something like ‘Streaming Campaign’ or ‘Pre-Saves Campaign’ might be sufficient for your needs.
Here you can check the Buying Type (leave this as Auction!), your Campaign Objective (you just set this to Traffic at the previous step) and, if you want to, set a Campaign Spending Limit (bear in mind that you’re setting a limit at Campaign level here - you can set Ad Set-level budgets later on).
Advantage+ is Meta’s AI-powered recommendation engine. If you want your Campaign to be ‘optimised’ by Meta’s AI, you can toggle this setting ‘On’ and Meta will distribute a single Campaign budget across multiple Ad Sets to get the best results. If you leave this setting turned Off, you’ll set daily budgets for each of your Ad Sets at the next stage.
Unless you’re running Meta Ads about financial products or services, employment, housing, social issues or politics, you don’t need to declare any Special Ad Categories - so ignore this section!
Now that your general Campaign settings are decided, it’s time to go one level deeper and set up your first Ad Set. Remember, you can have multiple Ads in a single Ad Set and your Campaign can have multiple Ad Sets inside - remind yourself of the hierarchy you looked at when planning your Campaign so you can name your Ad Set something that makes sense!
The specific options you’re asked to choose from at Ad Set stage depend on the goal you chose at the start of building your Meta Ads Campaign, but we’ll walk you through the process of setting up your Traffic Campaign, where the goal is to get clicks from your Ads over to your landing page or streaming platforms.
Meta will ask you to define your conversion settings, your audience targeting and your budget at Ad Set stage.
If you’ve chosen Traffic as your goal, Meta will now ask you to choose where you want that traffic to be sent. You can choose from:
For most music-related scenarios, Website will be the best option for you to choose here.
This is how Meta will measure the success of your Ads. Again, the options you have here will vary depending on the Campaign goal and Conversion Location you’ve chosen, but for Traffic goals with Website as the Conversion Location, the options are:
For maximising streams of your music, the most relevant Performance Goals are landing page views or link clicks. Using landing page views may help you to get more relevant link clicks from your Ads, as Meta is judging the relevance of the landing page to the specific person - but link clicks can be equally as effective.
This is an optional setting that allows you to tell Meta how much you’re willing to pay for each result (where ‘result’ is defined by your choice in the Performance Goal section). For most music scenarios, this isn’t really necessary. It’s a helpful tool for business who are specifically concerned with the cost of each lead they bring into their business, but less helpful for your goals as a musician.
Another AI-powered feature, turning this toggle to ‘On’ will allow you to upload design and copy elements that Meta will then use to create finished Ads for you. In most cases, it’s best practice to leave this turned ‘Off’, so that you’re in full control of the final Ads being delivered to your target audience.
Define your budget in this section. You can choose whether your Ads run from a daily budget or a lifetime budget. If you’re running a time-limited Campaign, e.g. with the goal of increasing pre-saves, a lifetime budget may be a better option - this allows Meta to distribute your budget over your timeframe in the way it believes will get you the best results. However, if you’re running an ongoing Campaign to increase streams of your music, a daily budget may be better - that gives you control over monthly spend and makes sure that your Ads are running every day, rather than leaving the potential for your lifetime budget to be spent in a short timeframe.
Choose a start date and end date for your Ads to run. If you’re running an ongoing Campaign, leave the end date blank.
This is where you get to target your Ads to the right audience. Thoroughly understanding Meta Ads targeting is a challenge even for the most seasoned marketing professionals, but there are a few key things you need to do to make sure you’re not wasting your Ads budget.
Note: if you don’t see all the targeting options listed below, it’s likely your Ad Set has defaulted to using Advantage+ audience. You can use this option if you aren’t clear on who you’d like your Ads to target, but if you have existing data from your streaming profiles (pro tip: Spotify For Artists, your fan link platform, and your social media insights are all goldmines for understanding who your audience is!) it’s usually more effective to switch back to ‘original audience’ options and define your audience yourself.
In this section you can choose where your Ads will be shown across the Meta platforms (Instagram (and Threads), Facebook, WhatsApp). This will help you to target people where they’re most likely to convert - for example, most people are more likely to listen to or save your music while they’re using their phone, not a desktop computer, so in Placements you can choose to exclude your Ads from showing in desktop feeds.
Note: your Ad Set may have defaulted to using Advantage+ placements, where Meta determines where your Ads will show. You can use this option if you don’t want to be specific with Placements, but it will rely on Meta’s AI to crop or adjust your creative for all Placements - and while it’s generally fairly reliable in its cropping decisions, it’s not ideal all of the time! If you’d prefer to control where your Ads show, click Edit and choose Manual placements instead of Advantage+ placements.
This extra setting allows you to choose specific devices or operating systems that your ads show on. This is particularly useful for advertisers whose goal is app downloads (where the Ad Set can be set to specifically show to Apple users, not Android users, for example), but for most people (including you) this is unlikely to be a necessary setting to change.
If you’d prefer your Ads not to be shown alongside ‘sensitive’ content, you can choose to do so here. In-content ads can be restricted to Expanded inventory (all monetised content, default), Moderate inventory (where highly sensitive content is excluded) or Limited inventory (where additional sensitive content is excluded). Meta has various definitions of content that fits into these categories, which you can find here. You can also choose to exclude your Ads from showing in Live streams.
Now that you’ve set up your Campaign and your Ad Set, it’s (finally) time to create the part that will actually get seen by your audience: your Ads.
You can create as many Ads as you want within each Ad Set, so it’s a good idea to test a few different approaches to your Ads to see what lands best with your audience.
Choose which of your associated Facebook pages, Instagram accounts and Threads profiles your Ads will be shown from. You can also specify Branding settings if needed. If you choose to leave Branding inactive, Meta will make branding decisions based on your URLs, Ads creative and other business account settings.
First, choose whether you want to create a new Ad, use an existing post as your Ad, or use Creative Hub mockup (a Meta platform that helps you to create Ad assets specifically for mobile platforms). In most cases, you’ll want to choose ‘Create ad’ so that you can upload your already-designed assets and have full control over your creative.
Unless you’re an e-commerce business with a catalogue of products on Meta already, your only option here will be ‘Manual upload’.
Choose from Single image or video, Carousel or Collection. Only Creative Hub mockups can be used for the Collection format. For getting more streams of your music through Meta Ads, you’ll likely be best sticking to Single image or video, rather than Carousel - because the purpose of your Ad is to catch attention then instantly convert that attention into a click.
This section is where you choose where you send people to after they click on your Ad. You can choose from the following options:
To get listeners to your streaming profiles, choose ‘Website’ as the Destination and add in the landing page link you created when planning your Campaign funnel. You can then choose to change how the URL displays. For example, if your landing page URL is www.thisismylandingpage.com, you might prefer it to show as ‘www.streamnow.com’ - changing the Display link won’t change where the URL sends visitors to, but will change how they see the link in your Ad.
Here you are asked to choose between an Image Ad or a Video Ad and then upload your content. Once you click on Image or Video, a popup box will appear that guides you through a number of steps to upload your media, add your text, add extensions and choose whether or not to allow Meta’s AI enhancements on your Ad.
Choose to create multiple versions of your Ad to make a data-fuelled decision about performance. If you choose this, rather than setting up multiple Ads in the same Ad Set, Meta will ask you to choose how much of your Ad Set budget you’d like to spend on testing and will then ensure that all variants of your Ad are tested with that budget. It isn’t available if you chose Lifetime Budget earlier on.
Choose to add translations or automatically translate your Ad to multiple languages. This can be helpful, depending on your geographic targeting at Ad Set level.
This is where you choose how to track conversion events. If your goal is to increase listeners of your music, the best approach here is to use your Meta Conversion Pixel on your landing page. Most fan-link builders (including Feature.fm that we use here at Identity Music) will give you the option to paste your Pixel ID into the settings of your landing page so that the data is sent back to Meta.
Now that you’ve planned and executed your Meta Ads Campaign, it’s time to click ‘Publish’. Meta will review the contents of your Ads to ensure they abide by their guidelines, then your Campaign will start running (either immediately or on your chosen start date).
What’s important now is that you don’t just click ‘Publish’ and hope for the best!
While Meta is good at optimising your Campaign based on the data it receives from performance, it’s always advisable to keep an eye on performance yourself too. You should be aiming to keep lowering your Cost Per Result as the Campaign progresses, making sure that you’re checking the data at Campaign, Ad Set and Ad level to see which Ads are performing the best.
After a couple of weeks of gathering data, you should be able to see which Ads perform best and which need improvement. Meta will provide Recommendations for things you can do to improve your performance, but bear in mind that Meta doesn’t know all there is to know about your goals, your music and your brand - so take their recommendations with a pinch of salt!